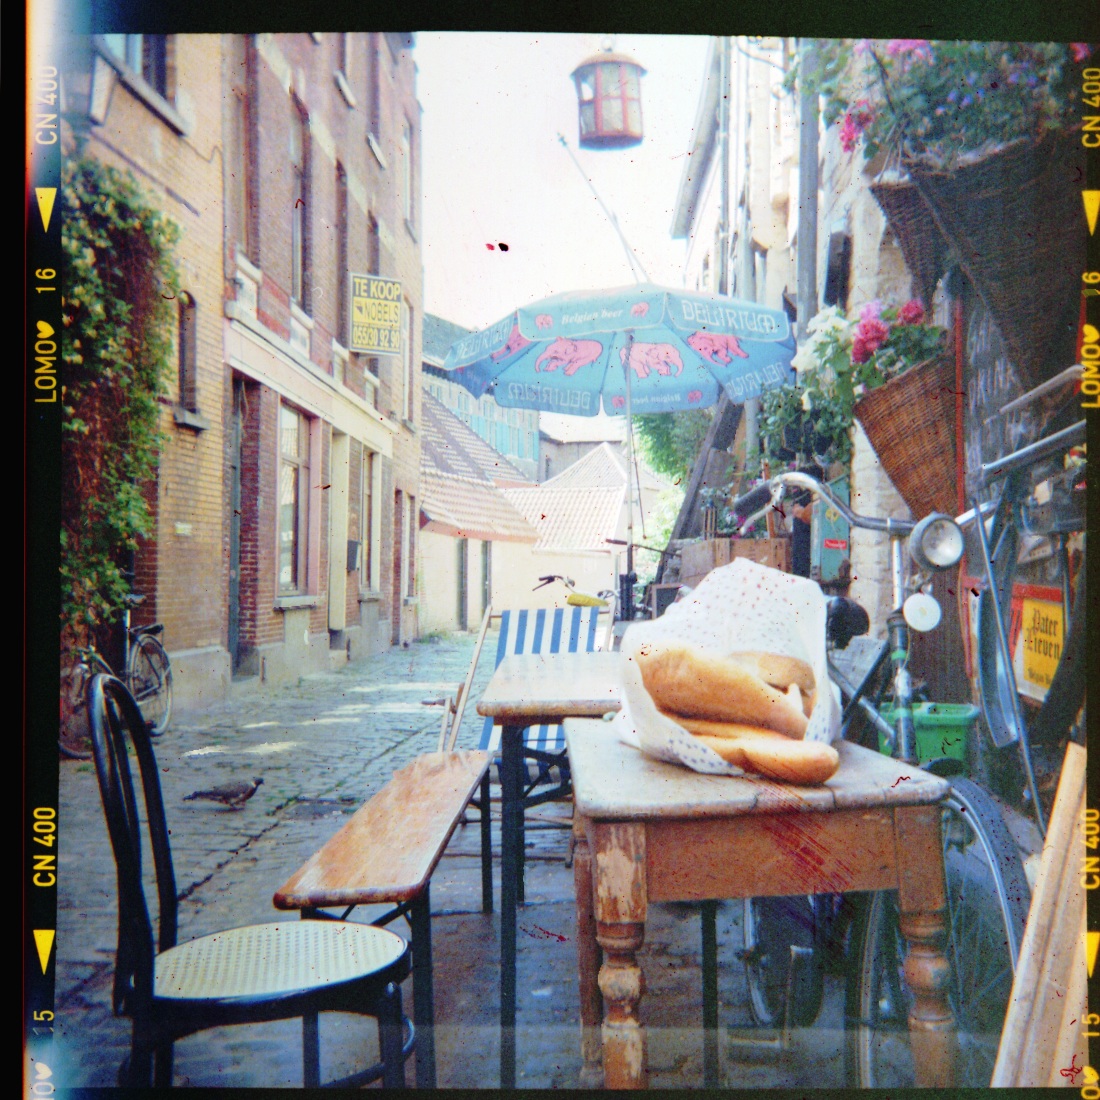
Good morning there! I must say, i feel pretty tired. That’s because yesterday, i wasted almost 3 hours trying to figure out a way to scan my 120 negatives, that don’t fit my flatbed scanner. First I found a DIY for creating a backlight with some silver cardstock: didn’t work. Then i tried putting a white paper or the white area of the flatbed scanner itself over the negatives with a lamp behind it. Worked a little better, but the colors were totally off. I found i got the best result taking a picture of the negatives while holding them up to the sky, which made me get the idea to use my scanner outside while open, with the sky as a background. And yes, it did give the best results (and then i discovered the bad state the lab left my negatives in…). After scanning it as a normal picture, I inverted the colors in Gimp and then “equalized” the colors, and it turned out pretty okay. The darker pictures didn’t come out well at all, so i’ll eventually have the roll scanned at a (better) lab anyways. Also, it’s a nice way to compare quality and colors of both methods. It was a nice experiment, and if you are more stubborn than I am and don’t want to spend another overpriced penny at photo labs, maybe this is something for you!
Here is one of the better results (taken with my Kodak Duaflex II):
